Showing posts with label home decor. Show all posts

Saturday, January 7, 2012

I Have Been a Total Slacker

i had very good intentions to blog all of the month of december, but it seems that we all got sick and then the next thing you know, christmas was here! so, i apologize for being a total and absolute slacker!
i have been trying out some new recipes lately from various websites, and have forgotten to take pictures of the  yummy stuff i have made (i think my brain left when all of my kids were home for 2 weeks).
but, i have found some things on pinterest that hopefully will help me remember to do the things that i need to and get back on a regular schedule.
here is a cute menu planner from my fave paper store
and here is a bunch of free printables  that are super cute. 
hopefully all of your schedules get back to "normal" soon and that you can keep some of your new years goals! 

Wednesday, November 9, 2011

Twig Wreath

Like my sister, I too am addicted to pinterest. I found this awesome wreath, but no tutorial. The link just sent me to google.com. So, I decided I would figure out how to do it on my own and this is what I got...
It only cost me $3.50 to make. I had most of the stuff I needed on hand.
First you need an old hanger, or in my case a hanger from our friendly dry cleaning place.
Then you need twigs. I cut them 6 1/2 to 8 inches long. We cut down a tree a few weeks ago so I had plenty of branches to work with.
Of corse you will need a hot glue gun, scrap fabric of your choice, and a sprig of small berries of your color choice.
I took the hanger and man handled it to make a circle, not a pretty one but it worked.
I tried gluing the twigs onto the hanger, but it wouldn't hold. Light bulb...I wrapped yarn around the hanger and glued it in place.
The twigs held on better and they are still on after a windy day. I placed a bowl in the center of the hanger as a guide so the opening in the center of the wreath would be a circle.
Then comes the flowers. I cut my fabric 1 inch thick and about 24 inches long. At the end of the fabric strips tie a knot.
Then I cut out circles the size of canning lids (I used them as my template).
Place hot glue in the center of the circle and put the knotted end of the fabric there. Then start going around in a circle with the fabric and glue.
Once the flowers were done I glued one ontop of the twigs and then a little bit of the berry sprig on either side. Then another flower and berries. Repeat until the circle is done. Ta Da... You have your wreath!
Try it out and let us know how yours looks.  Happy Fall!!!

Monday, November 7, 2011

Ruffle Curtains

I really love Anthropologie!  When the ruffle shower curtain came out, I about died. I saw a few tutorials on how to make cheap shower curtains. It got me thinking...wouldn't just plain color curtains look good in a little girls room? I had to try it. WARNING... This isn't something you can do in a day or two if you have children.
First I went to target while they where having a sale and bought a cheap pair of curtains in white, for the base of my project.
Next, I bought a queen size sheet in white (the same color as the curtain).
I went home and started measuring. I figured I could get 13 ruffles on each panel. Then I started cutting. I hope you have a rotary cutter, it's easier to work with. Then I hemmed one end of the long strip of fabric and the two small sides. *this was a lot of ironing and sewing*. Then I fixed my sewing machine to do the longest stitch it can do, and I also played with the tension and made it so the top was really loose. Sew the unhemmed side of each strip of fabric in a straight line Don't back stitch!!! Once that was all done you start the ruffle. Pull on the loose piece of thread, and start making the fabric ruffle.
I pulled out the curtain base and with a pencil I marked where each ruffle will go. I drew a straight line and pinned each ruffle piece of fabric to each line. (make sure you over lap the pieces of fabric so you don't see the ruffle sewn edge). Once you get all of the fabric pieces sewn on this is what it looks like...
I think in total I spent $25 for both panels.  Not too bad if I do say so myself!  I hope this helps you out. If you have questions about sewing these feel free to leave a comment.

Tuesday, October 25, 2011

Halloween Is Coming!

I have been working on this craft for a while, and I am happy to report that I have FINALLY got it finished! I have seen a bunch of different Halloween trees but, this is the version of mine. 
You will need:
Sticks/branches
Black spray paint Matte Finish
Orange glitter
Purple lights (I used a strand of 100 lights found at Target for only $3.50)
Bucket or something cute to stand your tree in.
Rocks/gravel
1.  You will need to take your branches and make sure there are no leaves on them and make sure that the wood is dry before you paint.
2.  Start spraying your branches with spray paint, but before it dries, make sure you sprinkle with the glitter so it will stick. Let it dry for a day or so.
3.  Wrap the lights around the branches.  
4.  Take your cute bucket or container (I found mine at Target in the dollar item section, only it wasn't a dollar, it was $2.50) Okay, so here is where I got creative. The rocks weren't holding the branches up like I wanted them to, so, I found out that a roll of toilet paper fit perfectly in the bottom of my container, and I stuck the branches through the roll, THEN put the rocks in to balance. Worked like a charm!! :}
 I had my kiddos help me make some ornaments out of  left over toilet paper rolls or you could use a paper towel roll too. I just halved the rolls and covered with some construction paper and Modge Podge. Then used Halloween stickers or my imagination to come up with some interesting decorations. 
 Decorate however you like, just have fun with it!

Wednesday, June 15, 2011

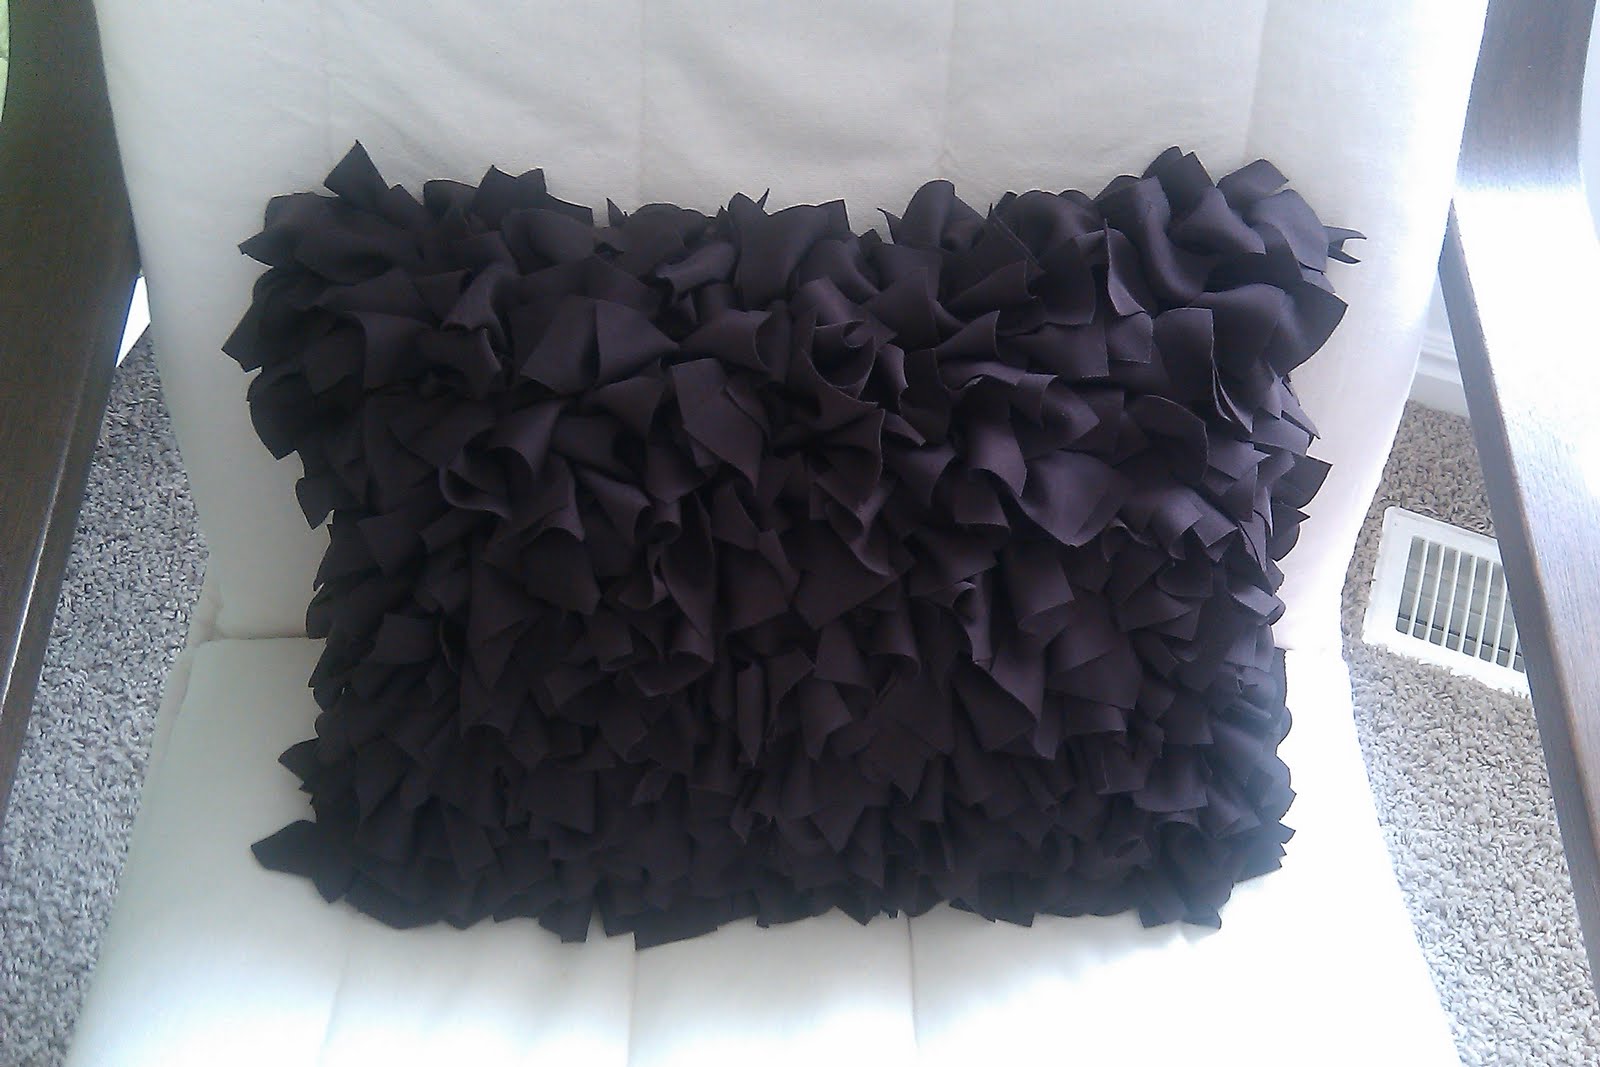
Shag Pillow

Ok folks, I found this tutorial over at V and Co. I just had to have one for my daughters room. It was easy to make, but time consuming. It took me two days of nap time to finish.  But, it was so fun to see the pillow take shape after sewing a few rows.  It made me excited and I couldn't stop until I was done! (I actually forgot to take a picture when I got excited, I was almost done before I realized I needed to take a picture.  Oops!)


 Head on over to her site if you wish to make your own, it's under tutorials and it's called Shag Pillow.  Here is my finished pillow... I really want to make one for every room in my house!


 The final revile of my daughters room will be at the end of September. (do you like how much time I gave myself? Hee hee hee)!

Tuesday, May 24, 2011

DIY Wire Baskets!!!

Ok, I found a tutorial in blogger land about a month ago and totally fell in LOVE!  Charlie over at Attempting Aloha made some cute wire magazine holders for her house.  I started thinking of all of the places in my house that I wanted wire baskets, but wasn't willing to purchase them for 20+ bucks a pop.  Plus, they wouldn't fit in the shelf the way I wanted them too.  I was at a loss.  Until today!  Here is my "step-by-step" (I think that was in a New Kids on the Block song, that was for my sis, Alisa!)...

First things first... You have to measure the spot you want this cute basket to call home.  In my case it is in my little girls closet.  14 inches wide, 10 inches deep and 7 inches high.

Then you go to your local hardware store.  I went to one where I think they prefer orange over blue, just because it is closer to my house.  You then go to the fence section, in my case it was isle 18.  Then you look for this stuff called hardware cloth.  24 inches by 5 feet.  It cost me $8.88 for one roll.  This will allow me to make 2 baskets, yea! You will also need some craft wire 26 gage.  I already had some in my crafting supplies.
Then when you get home change into some old clothes that you wouldn't mind getting dirty or snagged. Open this bad boy up and try to flatten it as much as you can.  My arms got some nice war wounds.

Once you get it laid out, get some wire cutters a measuring tape and start snipping.  Here is what mine looked like after I got it all cut.

Next, you fold up the sides, so it looks like this...
Now get out your flower wire 26 gage and get ready to do some sewing.  No needle required!  I started at the bottom and then worked my way up one of the sides.  If you cut your wire so that it is twice the size of the side you are sewing you will have a little left over.  Here is what I did...
I left about an inch of wire and then I twisted them together before I started looping the wire around the seem.  So the loops looked like this:
Word to the wise, I would put a band aid or some nice leather work gloves on because this is what my finger looked like after I was done with the first basket-
Yuck!  It didn't feel the greatest. Good thing I have a little girl, so that means I have Hello Kitty band aids!
Anyways back to the basket, here is what it looks like in my daughters closet.

I hope to follow Charlie's tutorial on how to make a cloth lining for them.  I am planning on making 6 of them for a whopping total of $26.64, the cost of one of them at the craft store.  I can't wait to have my daughters "Big Girls" room totally finished for her birthday in September!

Hope this helps you out and saves you a little bit of money in the process.  Happy Decorating!