I really love Anthropologie! When the ruffle shower curtain came out, I about died. I saw a few tutorials on how to make cheap shower curtains. It got me thinking...wouldn't just plain color curtains look good in a little girls room? I had to try it. WARNING... This isn't something you can do in a day or two if you have children.
First I went to target while they where having a sale and bought a cheap pair of curtains in white, for the base of my project.
Next, I bought a queen size sheet in white (the same color as the curtain).
I went home and started measuring. I figured I could get 13 ruffles on each panel. Then I started cutting. I hope you have a rotary cutter, it's easier to work with. Then I hemmed one end of the long strip of fabric and the two small sides. *this was a lot of ironing and sewing*. Then I fixed my sewing machine to do the longest stitch it can do, and I also played with the tension and made it so the top was really loose. Sew the unhemmed side of each strip of fabric in a straight line Don't back stitch!!! Once that was all done you start the ruffle. Pull on the loose piece of thread, and start making the fabric ruffle.
I pulled out the curtain base and with a pencil I marked where each ruffle will go. I drew a straight line and pinned each ruffle piece of fabric to each line. (make sure you over lap the pieces of fabric so you don't see the ruffle sewn edge). Once you get all of the fabric pieces sewn on this is what it looks like...
I think in total I spent $25 for both panels. Not too bad if I do say so myself! I hope this helps you out. If you have questions about sewing these feel free to leave a comment.
Showing posts with label Sewing. Show all posts
Monday, November 7, 2011
Saturday, October 15, 2011
Chevron Blanket
I'm not sure why, but I have really been into crocheting lately. So when I found this pattern online I had to share. Here is a picture of what I have done so far.
The pattern is pretty simple, heck I figured it out! So go check it out here! I am thinking of making one for our family room...brown and cream!
Wednesday, June 29, 2011
A "COOL" Car Seat...
I have seen a few of these around and after trying to get my daughter in a hot car after church on Sunday, this is a must have! I followed the tutorial over at eighteen25, but I added a few embellishments for fun! Plus I didn't do the rice flap. I used the ribbon to tie around the head rest, to keep it from falling down.
Here is the super cute fabric flower I used to disguise the velcro that secures the cover together.
They are supper easy to make.
1. Trace circles on the wrong side of the fabric you wish to use.
2. Cut out the circles and then cut the circles in half.
3. Fold the half circles in half.
4. Sew along the open edge.
5. Turn right side out.
6. Hand sew a running stitch along the bottom opening.
7. Chain all the "petals" together (using the chain stitch) and then secure the ends together to close the circle.
8. Hot glue a button to the center to hide the opening.
9. Hand stitch onto the cover.
I can't wait to use this! Hopefully it will make the ride home a bit smoother :) I think the next time I make one for my niece or nephews I will add pipping or ric rac to the edges, just to spruce it up a bit. Here is the finished project in my daughters seat...
Hope this will save a few little bums from being burnt. Happy Sewing!!!
Here is the super cute fabric flower I used to disguise the velcro that secures the cover together.
They are supper easy to make.
1. Trace circles on the wrong side of the fabric you wish to use.
2. Cut out the circles and then cut the circles in half.
3. Fold the half circles in half.
4. Sew along the open edge.
5. Turn right side out.
6. Hand sew a running stitch along the bottom opening.
7. Chain all the "petals" together (using the chain stitch) and then secure the ends together to close the circle.
8. Hot glue a button to the center to hide the opening.
9. Hand stitch onto the cover.
I can't wait to use this! Hopefully it will make the ride home a bit smoother :) I think the next time I make one for my niece or nephews I will add pipping or ric rac to the edges, just to spruce it up a bit. Here is the finished project in my daughters seat...
Hope this will save a few little bums from being burnt. Happy Sewing!!!
Wednesday, June 22, 2011
Bandana Quilt :)
Ok, for those of you who know me you know I have been working on this for a while. Life has just gotten in the way, but I am here today to show it to you...
I made this quilt out of 12 bandanas, batting, and some broadcloth. I think the whole thing cost me $30. You can get all different styles of bandana's. I decided to go with a 4th of July theme. I bought mine at Kings before they closed, but I have seen some really cute ones at Hobby Lobby for $0.99. I am planning on keeping this bad boy in the trunk of my car for picnics and of corse for the fireworks. Holla! I am thinking of making a personal one for my cute little girl (brown and pink maybe?), and using only 6 bandanas. It is seriously so easy to make. You can tie it, machine quilt it, or hand quilt it. Whatever is easiest for you. Hope this has given you an idea for some fun throw blankets. Happy sewing!!! (p.s. Martha Stewart made a table cloth out of bandana's. Just another idea!)
Loves,
I made this quilt out of 12 bandanas, batting, and some broadcloth. I think the whole thing cost me $30. You can get all different styles of bandana's. I decided to go with a 4th of July theme. I bought mine at Kings before they closed, but I have seen some really cute ones at Hobby Lobby for $0.99. I am planning on keeping this bad boy in the trunk of my car for picnics and of corse for the fireworks. Holla! I am thinking of making a personal one for my cute little girl (brown and pink maybe?), and using only 6 bandanas. It is seriously so easy to make. You can tie it, machine quilt it, or hand quilt it. Whatever is easiest for you. Hope this has given you an idea for some fun throw blankets. Happy sewing!!! (p.s. Martha Stewart made a table cloth out of bandana's. Just another idea!)
Loves,
Labels:
Sewing
Wednesday, June 15, 2011
Shag Pillow
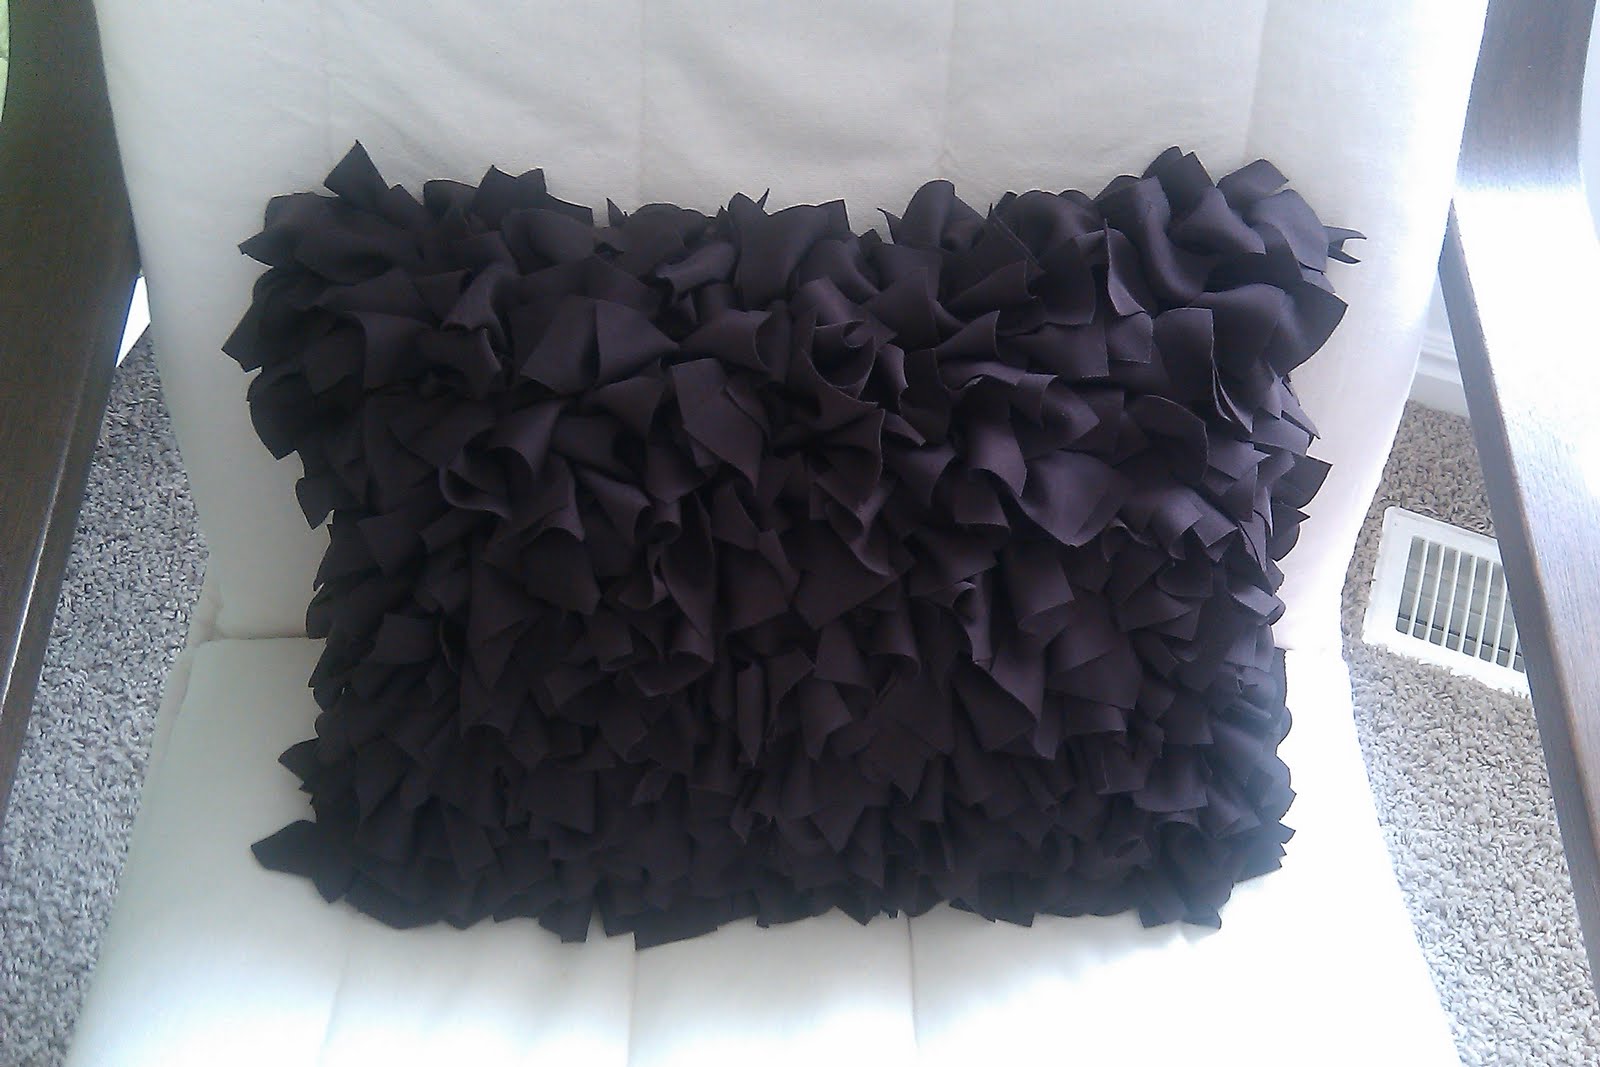
Ok folks, I found this tutorial over at V and Co. I just had to have one for my daughters room. It was easy to make, but time consuming. It took me two days of nap time to finish. But, it was so fun to see the pillow take shape after sewing a few rows. It made me excited and I couldn't stop until I was done! (I actually forgot to take a picture when I got excited, I was almost done before I realized I needed to take a picture. Oops!)
Head on over to her site if you wish to make your own, it's under tutorials and it's called Shag Pillow. Here is my finished pillow... I really want to make one for every room in my house!
The final revile of my daughters room will be at the end of September. (do you like how much time I gave myself? Hee hee hee)!
Head on over to her site if you wish to make your own, it's under tutorials and it's called Shag Pillow. Here is my finished pillow... I really want to make one for every room in my house!
The final revile of my daughters room will be at the end of September. (do you like how much time I gave myself? Hee hee hee)!
Labels:
home decor,
Sewing
Wednesday, June 8, 2011
Indoor Frisbee!!!
I have decided to start making a box of things to do on rainy days for my little girl. Just incase our summer is as wet as our spring has been. First on my list was an indoor frisbee. I thought I saw how to make this over at one of my favorite blogs, but I couldn't find it. So, I decided to make it from my memory and cross my fingers that it works! I sew by the seat of my pants, sorry I don't know all of the technical terms.
What you will need...
a bowl and plate to trace circles
leftover fabric (I used two coordinating fabrics)
an old towel you wouldn't mind cutting up
sewing machine
ric rac (optional)
thread and scissors
Simple, simple.
First thing, cut out the fabric.
Trace the plate onto the fabric with a pencil or pen and then cut out. Do the same with the towel. (On my next one I will cut out the towel circle a little bit smaller that the fabric circles.)
What you will need...
a bowl and plate to trace circles
leftover fabric (I used two coordinating fabrics)
an old towel you wouldn't mind cutting up
sewing machine
ric rac (optional)
thread and scissors
Simple, simple.
First thing, cut out the fabric.
Trace the plate onto the fabric with a pencil or pen and then cut out. Do the same with the towel. (On my next one I will cut out the towel circle a little bit smaller that the fabric circles.)
Now I pinned the ric rac onto the right side of the dotted fabric, close to the edge. Don't let the top of the ric rac go off of the fabric. Sew it as close as you can to the edge. Now put the other piece of fabric, right sides together, on top of the fabric circle with the ric rac. Then, put the towel circle on top of the other circles. Sew a 1/4 of an inch around the edge leaving a two inch opening so you can turn it right sides out. Once you have it right sides out sew along the edge to close up the hole. I went around the circle a total of three times. Just to make it a little bit stronger. Here is the finished project...
It actually works!!! My little girl had a fun time throwing this around with her dad last night, while it rained. (It took me a whoppin' 30 minutes to make this) Hope it works for you. If you have any tips or tricks to make this better leave a comment. Or send us a picture of one you have made.
Happy Sewing!
Subscribe to:
Posts (Atom)